Flower Candle
Assignment: Create an artificial candle or lantern using a NeoPixel jewel or other programmable LED. Your candle should include a base and a shade or diffuser. Try to capture the colors and behavior of a real candle in programming your candle.
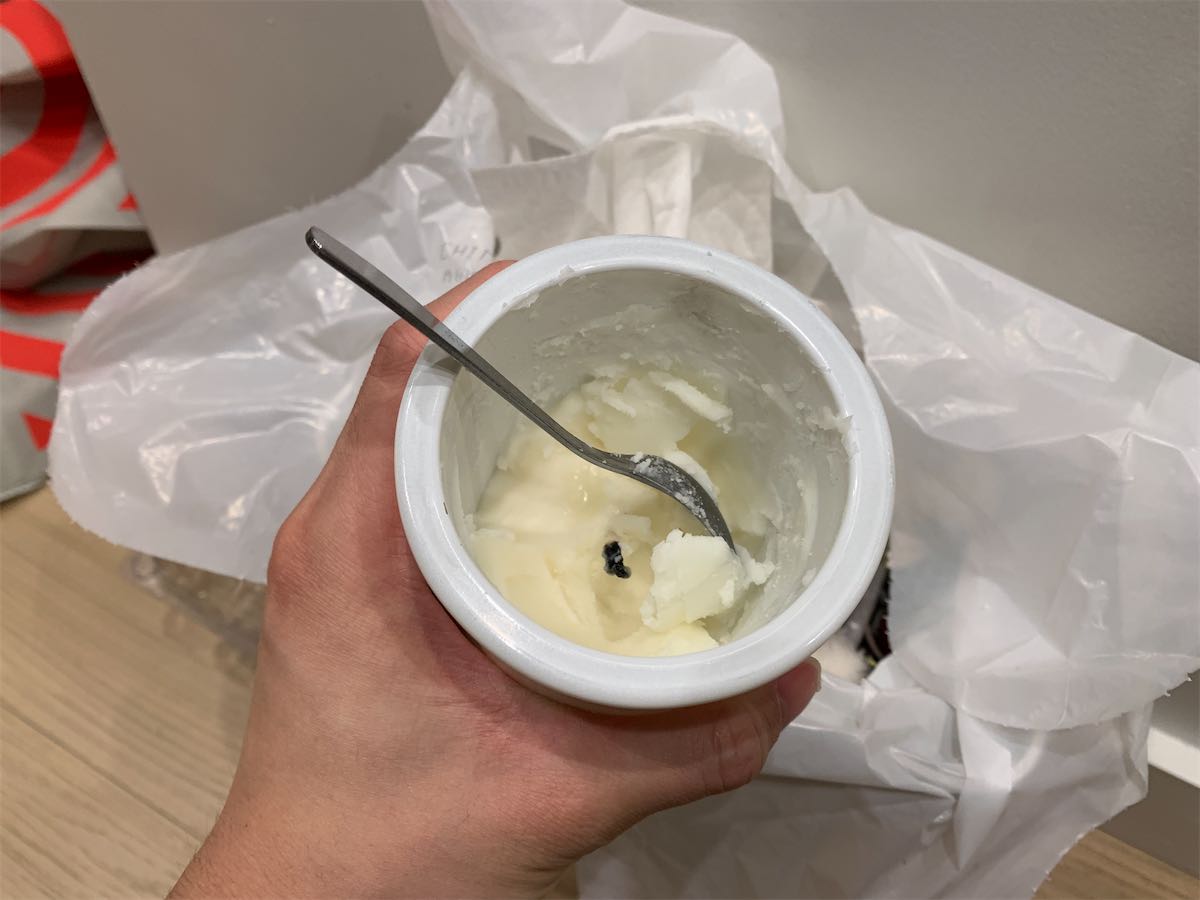
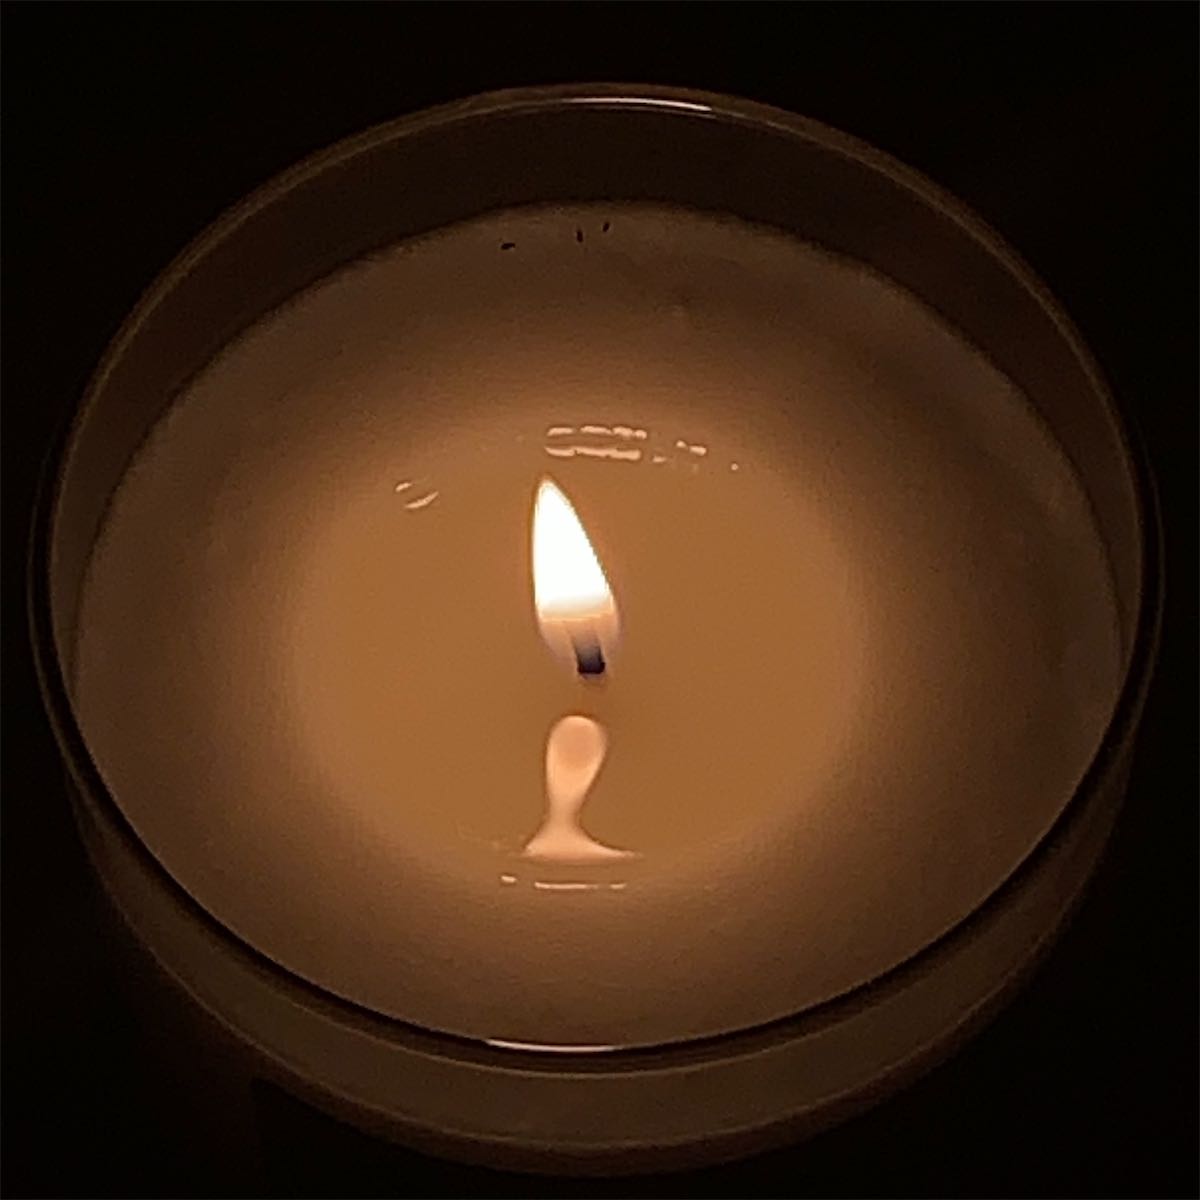
I started with a real candle and decided to empty and ‘digitize’ it. The rim of this candle is not solid and can offer a soft light from the side.

I scooped out all the wax inside the candle jar with a spoon which turned out to be a bad decision since the metal utensil scratched the inner wall.
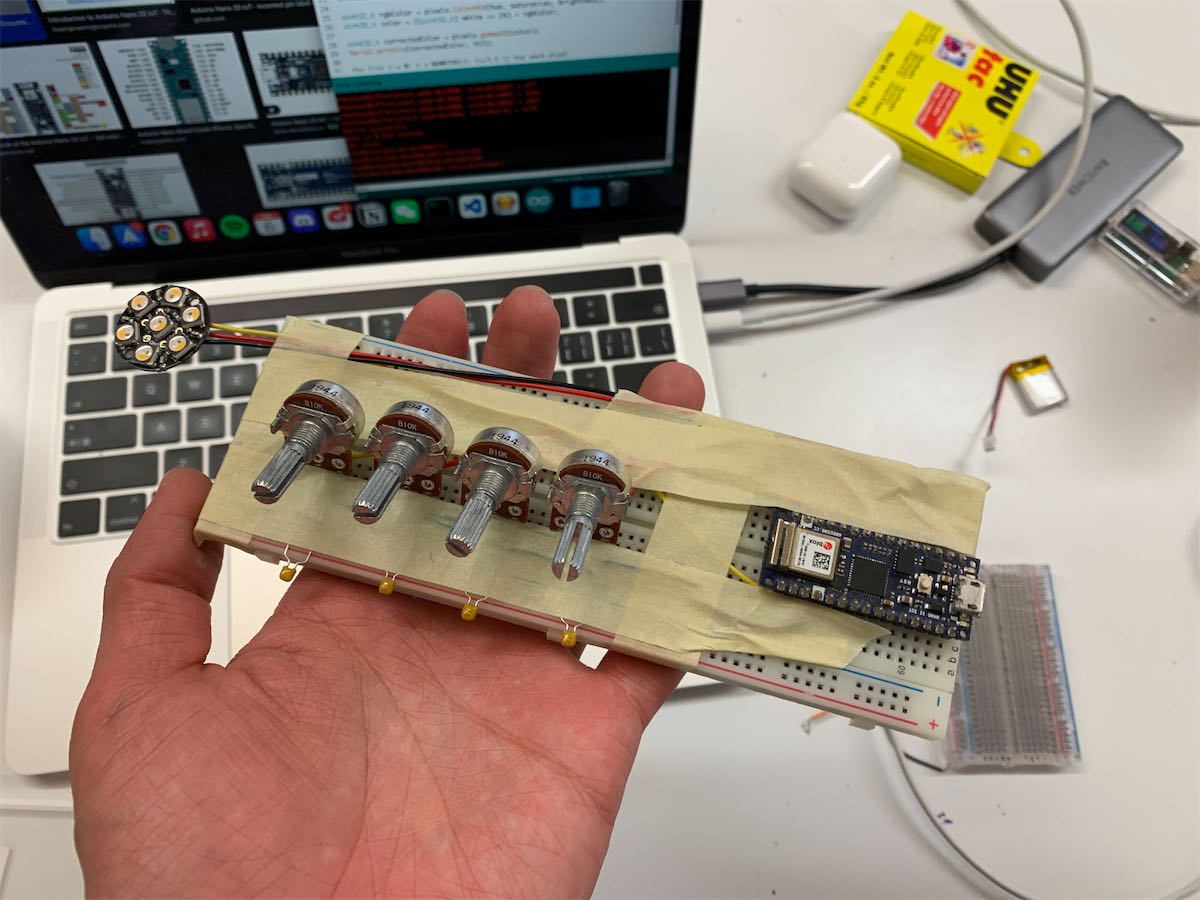
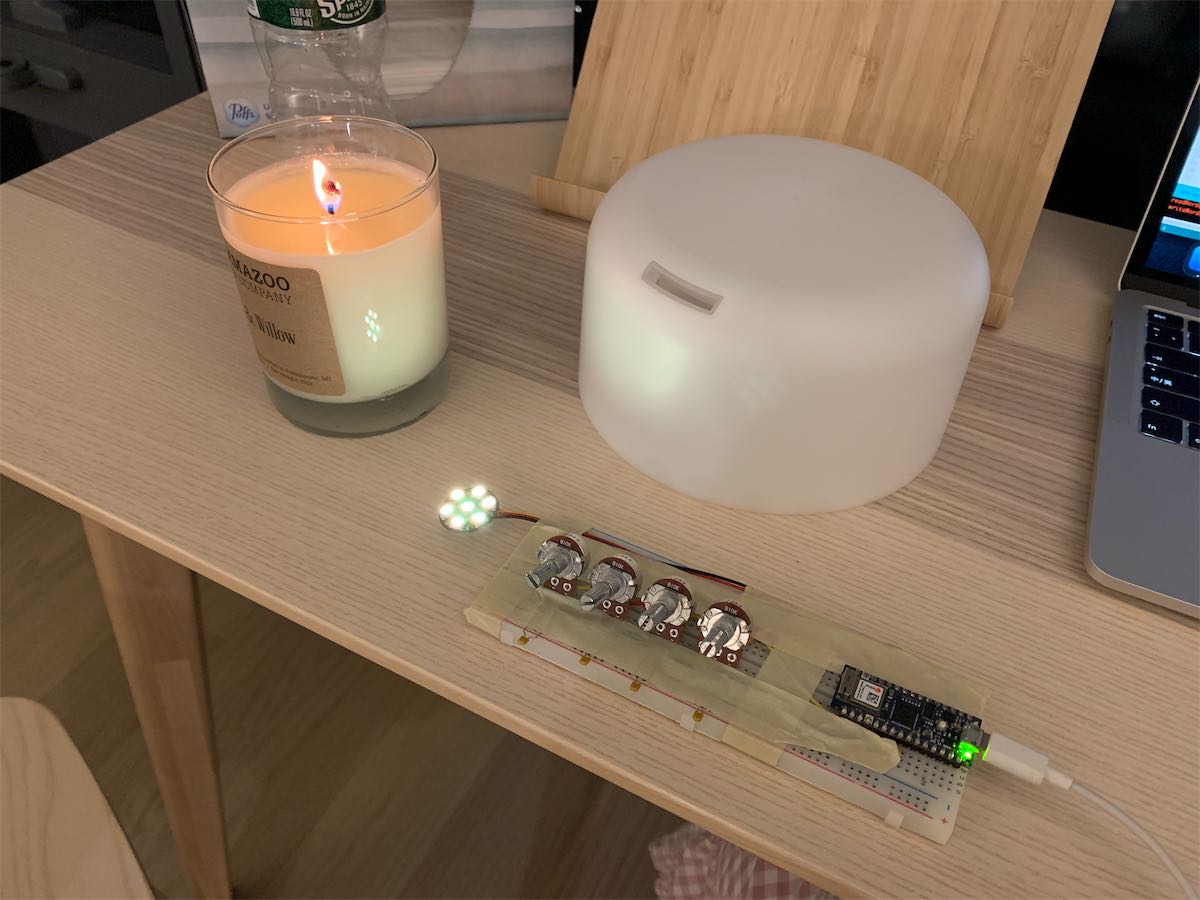
Before making the real candle, I made a jig for helping me find the right color. There were 4 potentiometer representing the hue, saturation, brightness, and the extra warm white channel. So I can bring home and compare it next to a real candle.
Fabrication
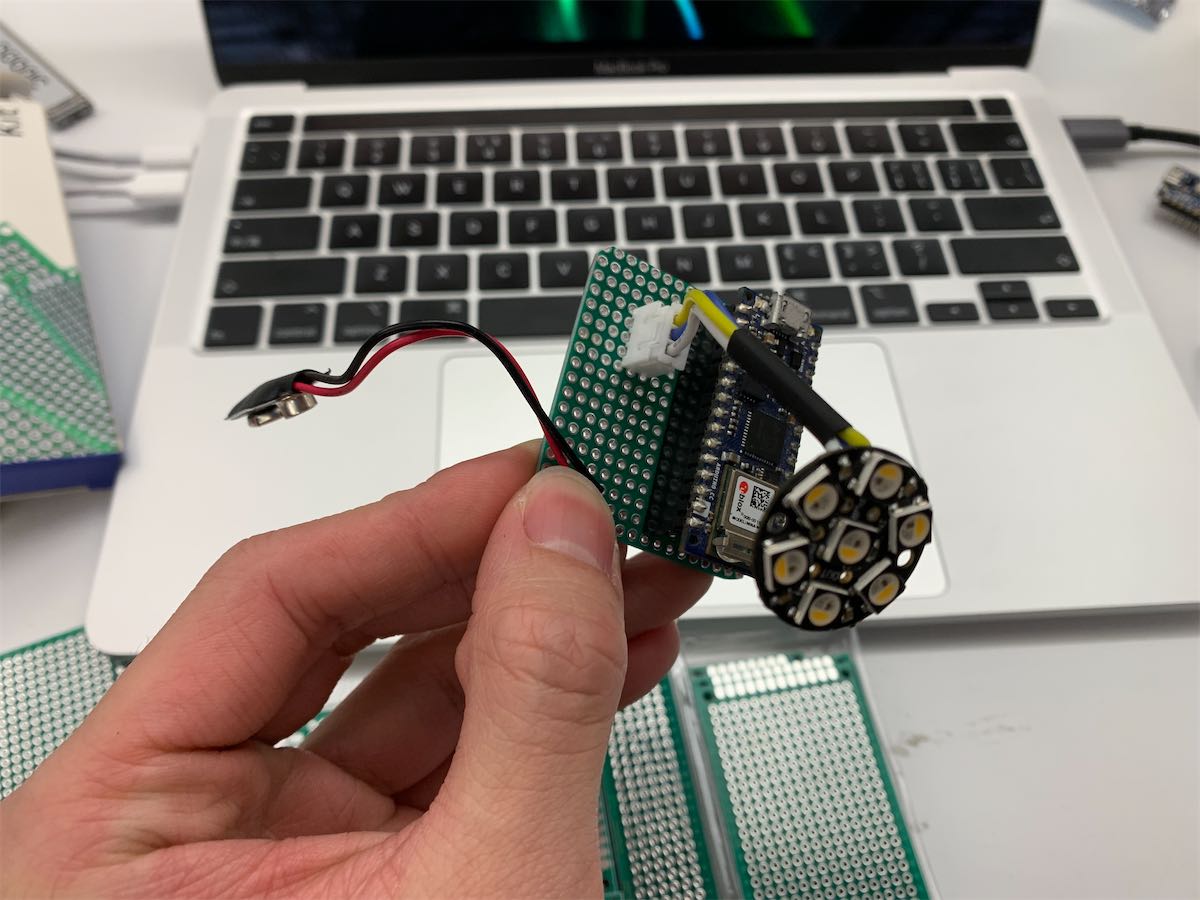
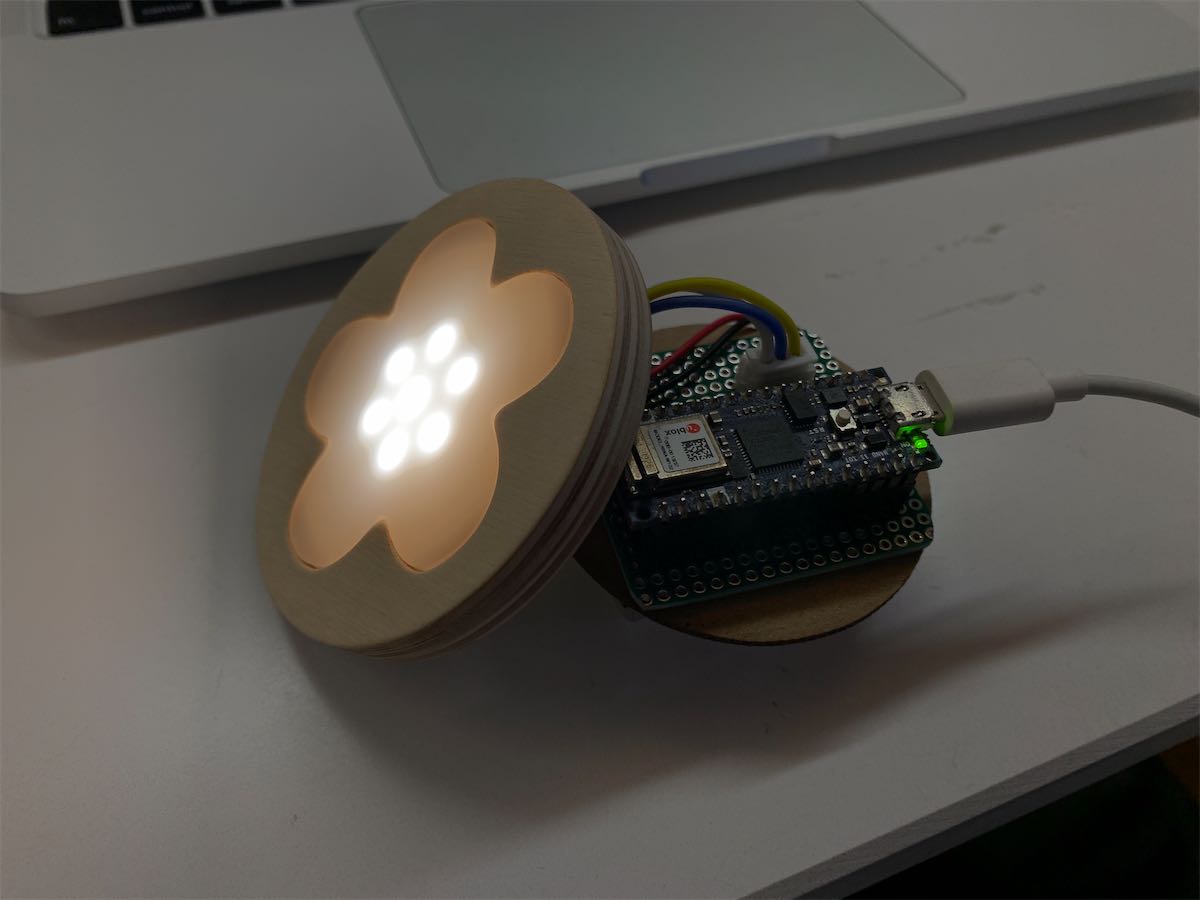
I first built the circuit part which is an Arduino Nano 33 IoT connected with the Neopixel jewel and a 9V battery. Three parts are connected with sockets to make it easier to assemble.
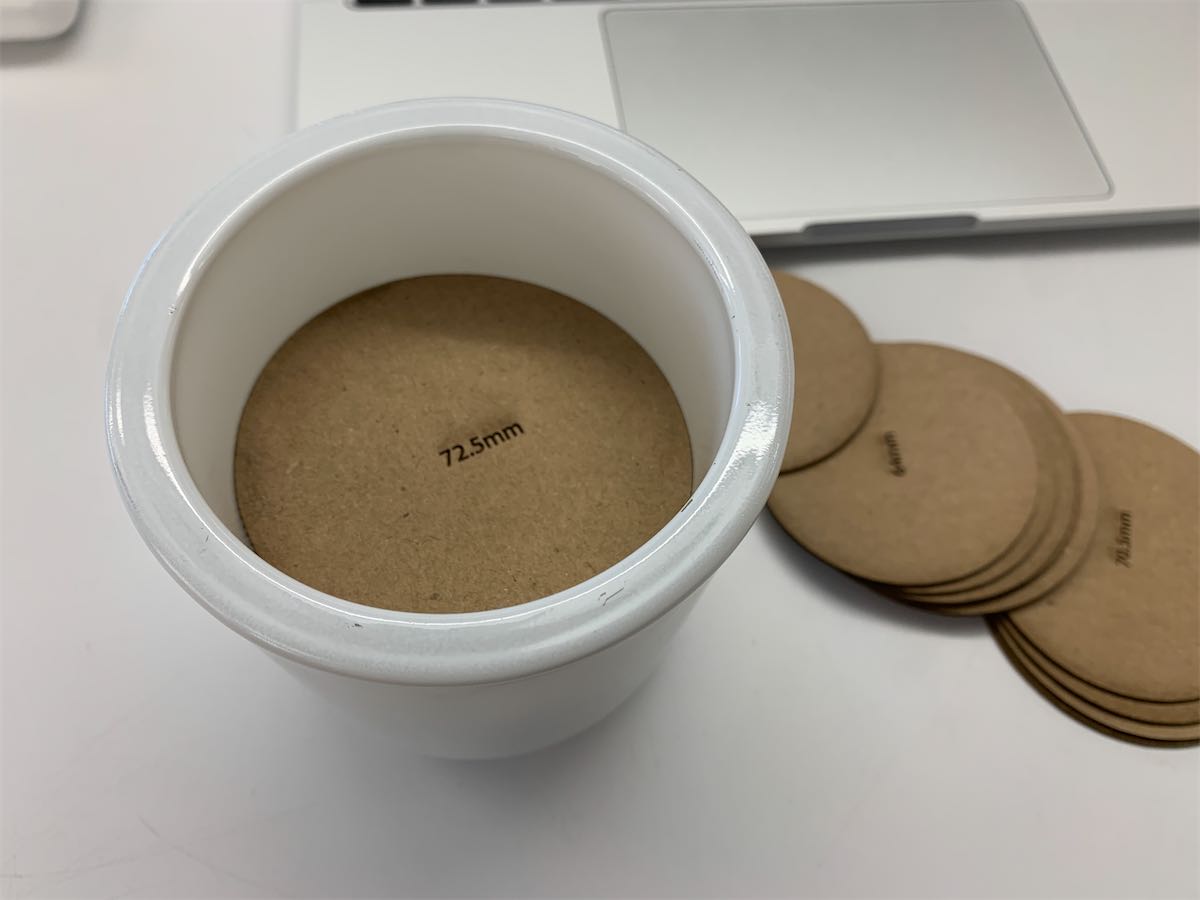
My idea was to make a plate that represent the surface of a candle and also block the electronic under it. The inner side of the candle is shaped like a cone, which makes it hard to measure the inner diameter at a given height. So I laser-cutted some circle board in different sizes and put them inside the jar until I found a depth I like.
72.5mm it was.
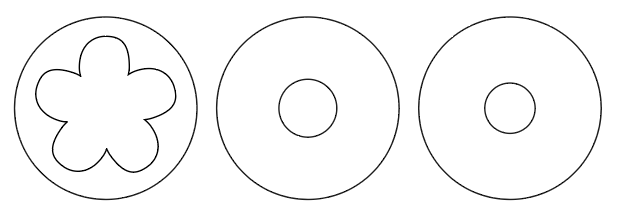
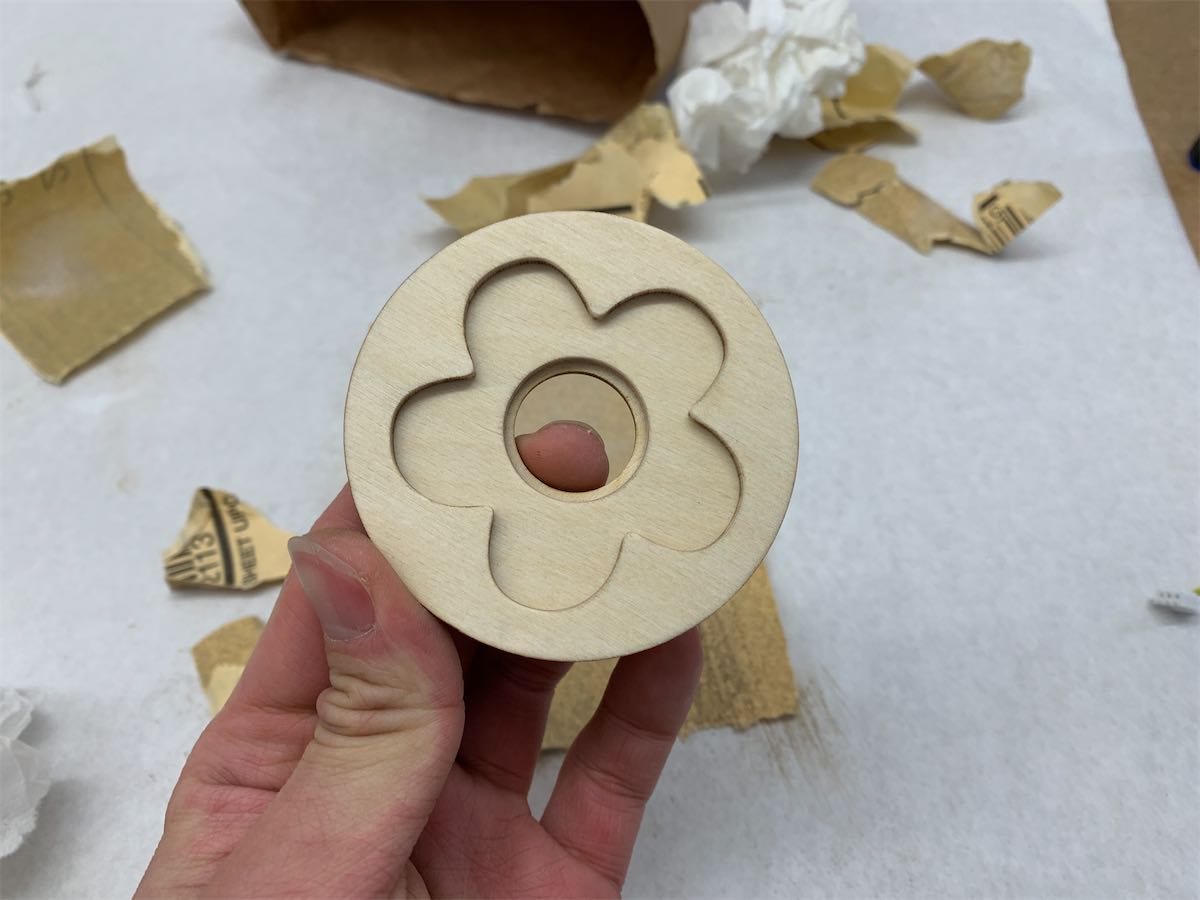
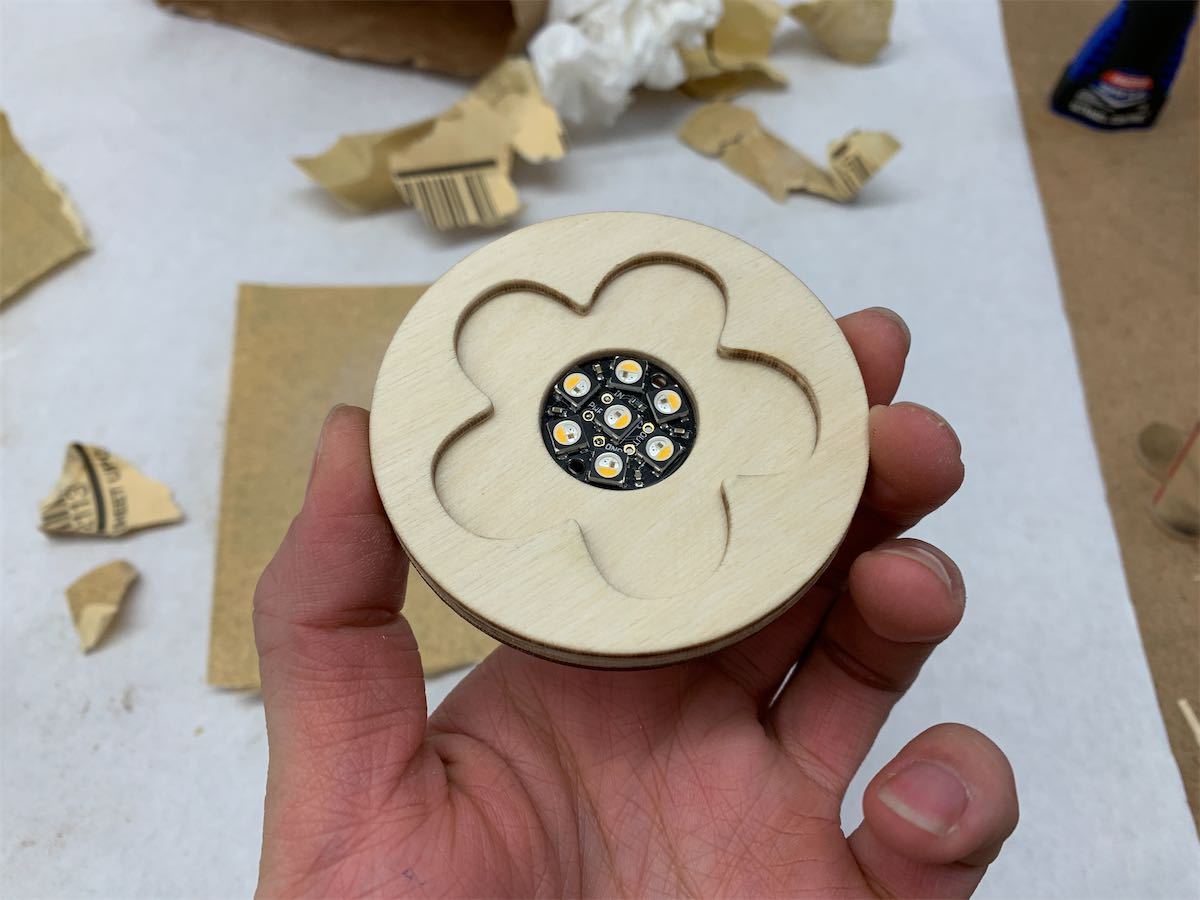
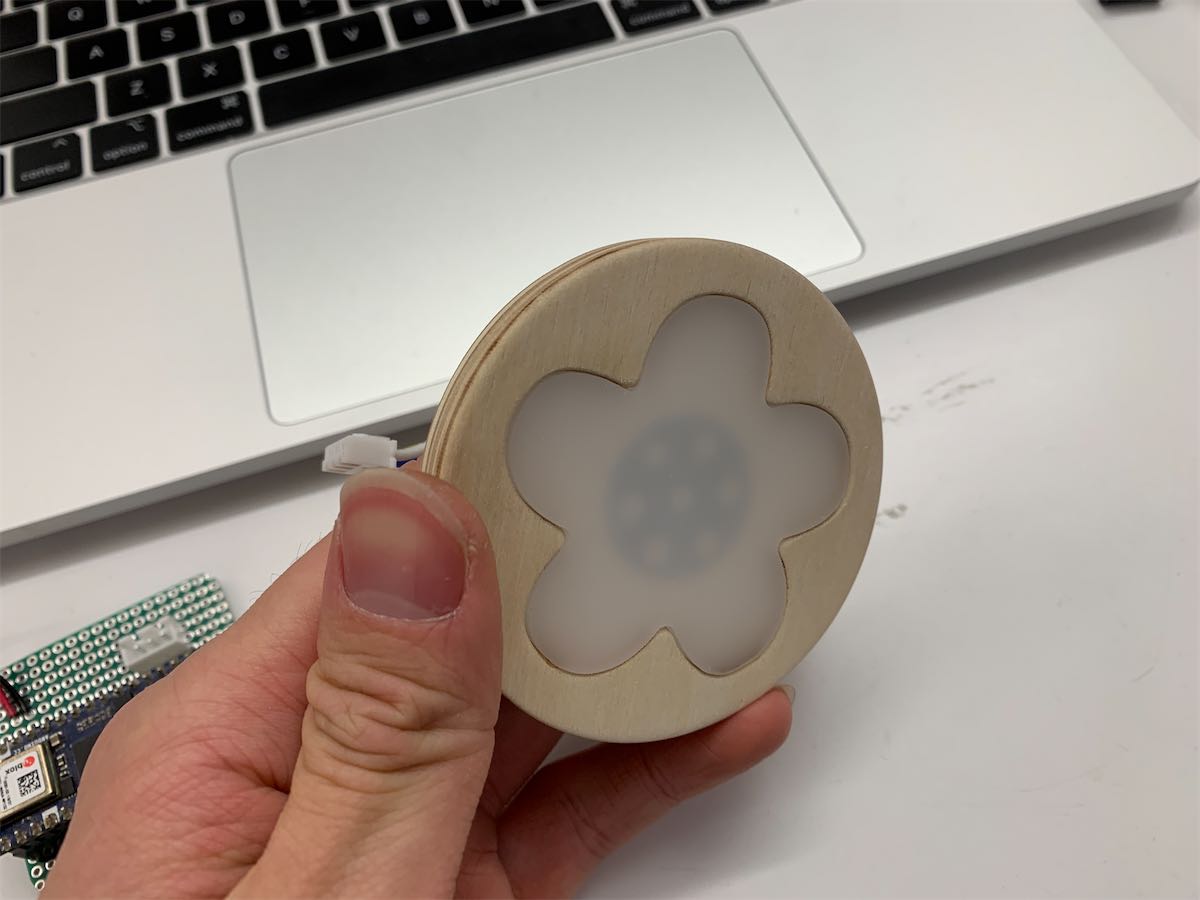
Then I designed a plate with three layers of 3mm plywood which can hold the Neopixel jewel and the acylic shade in place. To add more fun, I made the shade in a flower shape.
This was what it looks like after I cut and sanded and glued all the parts.
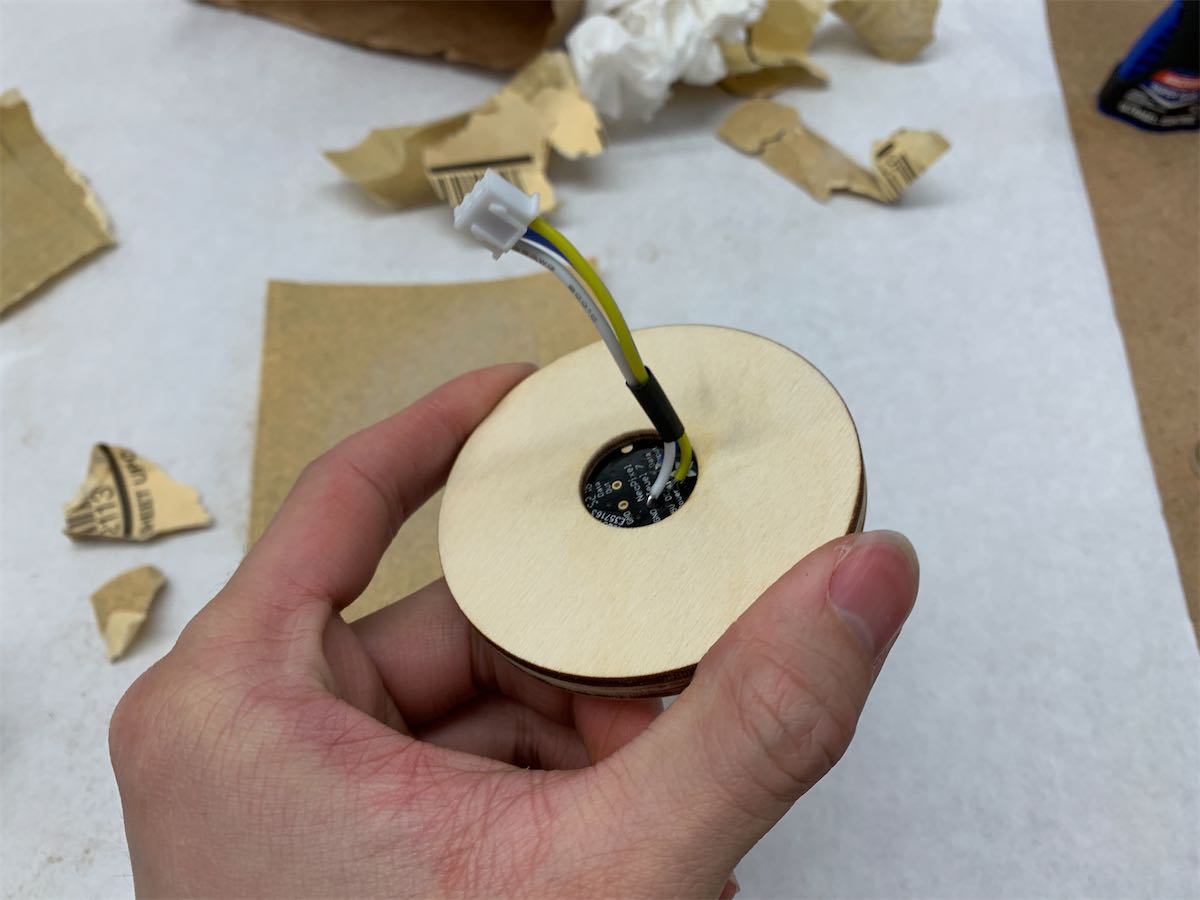
Finally I connected everything together and it worked perfertly.
Interactivity
To turn on/off the candle, I chose to use the onboard IMU so I don’t need to add more parts. The candle will turn on when you put it up right and will turn off when placing up side down. This interaction idea is origin from a Lamp from Casper which I found very intuitive.
Mimicking the candle feeling
There are two things I did to create the candle-like feeling
Flame Movement
In a real candle, there is a very bright flame and a circle around it less brighter. The flame sometimes move to the side because of the wind. The way I tried to implement was to have a brighter flame LED start at the center, but also have a chance to go to the outer ring for a while.
All the movement are animated in order to create the soft feeling.
// For every second
// there is a 1/4 chance for the flame to move to an outer LED
// and move back in the next second
if (millis() - lastTimeMoveFlame > 1000) {
  if (flameLEDIndex == 0) {
    if (random(0, 4) < 1) {
      // randomly select the outer LED
      flameLEDIndex = random(1, NUMPIXELS);
    }
  } else {
    flameLEDIndex = 0;
  }

  lastTimeMoveFlame = millis();
}
Flicker
On the other side, sharp & bright flicker is also implemented randomly on both the highlight LED and normal LEDs.
void flicker() {
  // randomly select from -1, 0, 1
  brightness += random(-1, 2);
  brightness = constrain(brightness, 80, 120);

  // randomly select from -2, -1, 0, 1, 2
  flameBrightness += random(-2, 3);
  flameBrightness = constrain(flameBrightness, 160, 255);
}